
The process of managing dependencies is to define what action to take on the dependencies.
To manage the dependencies of a particular asset: #
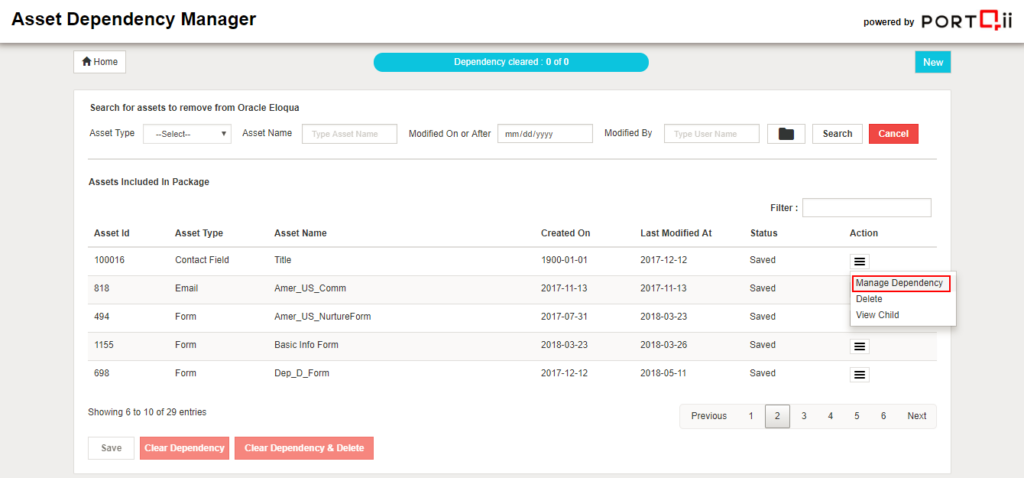
- Users can click on Manage Dependency against each asset in the package. OR
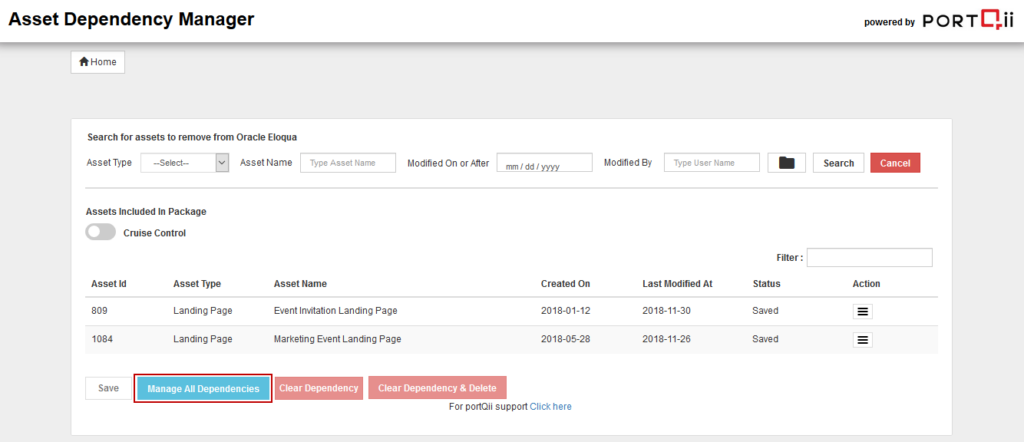
- Users can click on Manage All Dependencies.
User can choose to click on Manage Dependency for each asset if he wants to choose different action and alternate asset than what is set in the default settings in admin page.
On clicking Manage Dependency users will be able to: #
- View Dependencies: When the Manage Dependency option is clicked against an asset, the entire list of its dependencies for that asset is displayed.
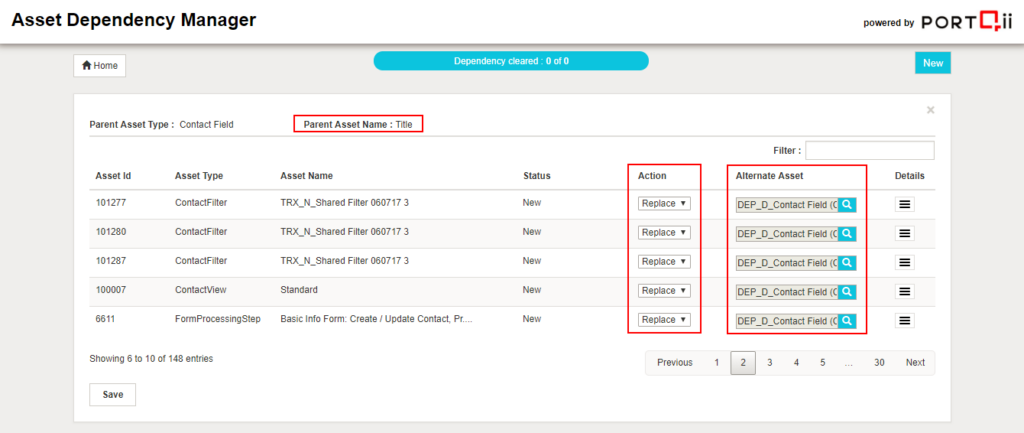
- Resolve Dependencies: This step is about taking actions (Replace/Remove/None) for each of the dependencies for an asset. The user can resolve the dependency by choosing the respective action on the dependent asset. The actions are: Replace, Remove or None.
- Replace: This action replaces the asset (being removed) with the user selected alternate asset for that dependency.
- Remove: This action removes the asset (being removed) from the dependency entirely.
- None: No action is taken at this time for this dependency.
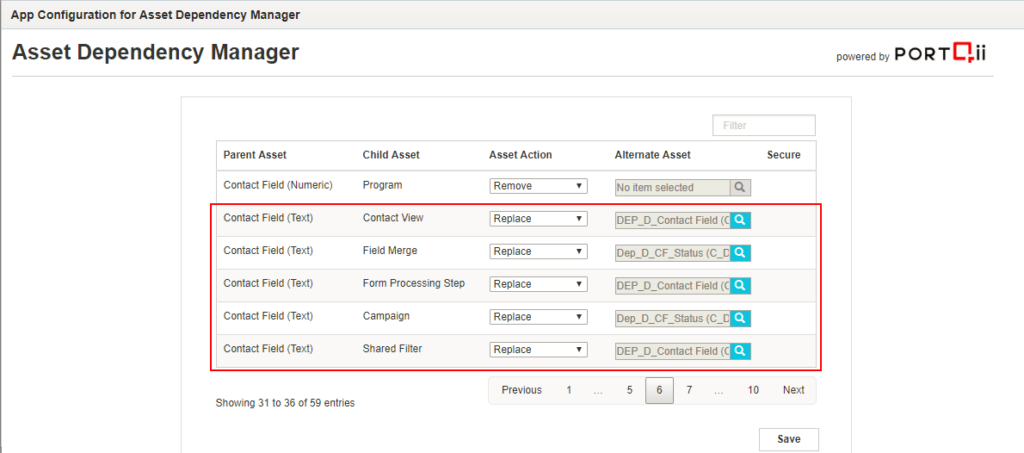
- Note: Default actions and default alternate asset set up in the admin page will be reflected here. The user can change this in the package for a different action or alternate asset.
The corresponding admin settings is as shown below:
If the User is clear that the actions and alternate asset selected in the default settings in the admin page are his choice of managing dependency, he can choose to click on Manage All Dependencies. This will apply the default settings to all the assets selected, in a single click. This adds speed and power to the Manage Dependency process.
The user still has a choice to choose a different action/alternate asset after this process. He can again click on Manage Dependency against each asset to view all the dependencies and change the action/alternate asset.
WARNING: For the dependent assets that are unsupported by the app, status will be displayed as Unsupported. No action can be taken on these assets. The users will have to manually resolve the dependency.
NOTE: Once the action has been chosen, users must click on the Save button to save the actions. Once saved, the section for managing dependency must be closed to start the process of applying the actions against the dependencies. The status of the assets after managing dependency will be changed to Ready. This means that the assets are now ready for the Clear Dependency process.